
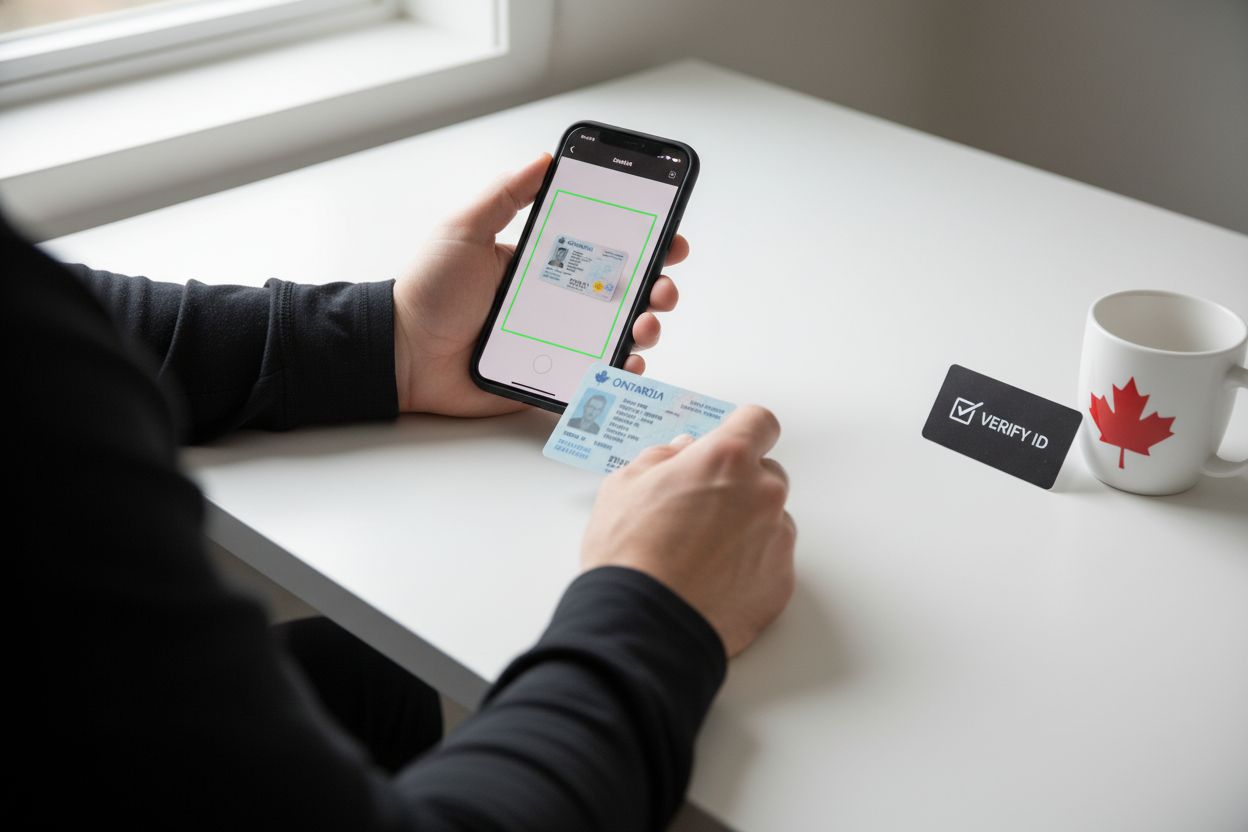
Did you know that almost every online notary service in Ontario requires you to upload a government issued photo ID before your appointment? Identifying yourself correctly is a must if you want to avoid delays or headaches during the notarization process. With online notary platforms expecting clear documents and accurate information, even a small mistake can slow you down. Following these steps will help you breeze through verification and get your documents notarized without extra stress.
Quick Summary
| Key Point | Explanation |
|---|---|
| 1. Gather valid photo ID documents | Collect a current government-issued photo ID that clearly shows your full name, photo, and signature for verification. |
| 2. Create high-quality scans or photos | Prepare your documents using good lighting and a plain background to ensure clarity when scanned or photographed. |
| 3. Access an approved online notary portal | Create an account on a secure online notary platform, providing necessary personal information and verifying your email. |
| 4. Upload documents carefully | Securely upload both sides of your ID and a selfie, ensuring all details are visible and clear before submission. |
| 5. Confirm successful document processing | Check your email for verification messages confirming successful upload and identity verification to proceed with notarization. |
Table of Contents
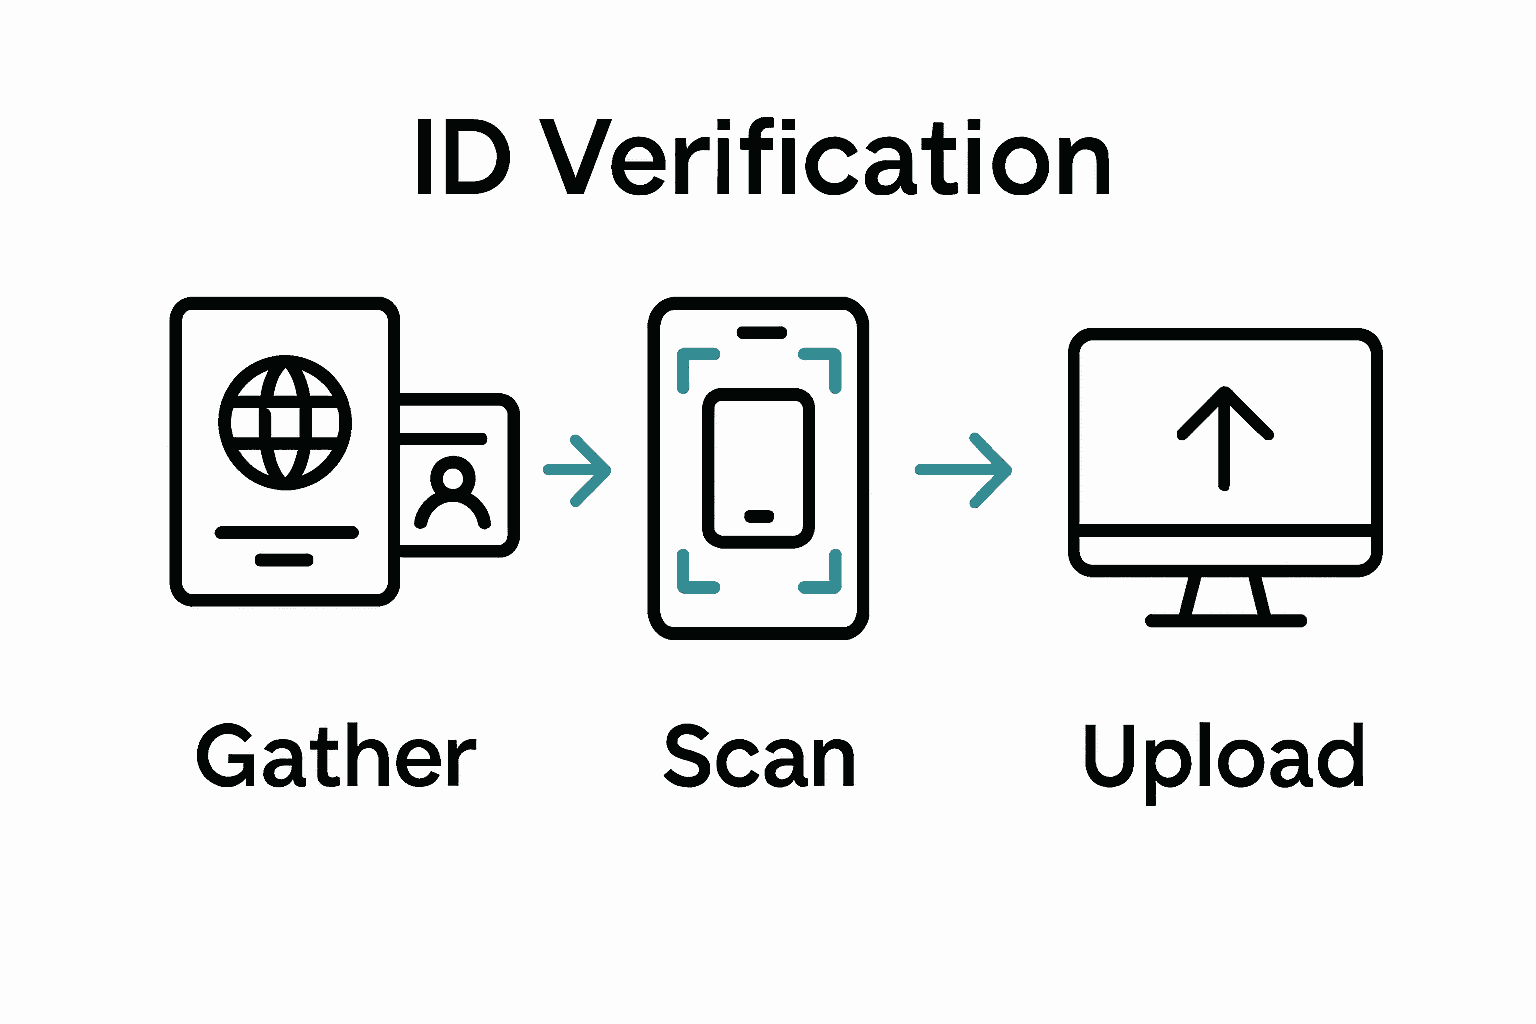
- Step 1: Gather Required Identification Documents
- Step 2: Prepare Identification for Scanning or Photography
- Step 3: Access the Secure Online Notary Portal
- Step 4: Upload Your ID Document and Submit
- Step 5: Verify Successful Upload and Confirmation
Step 1: Gather Required Identification Documents
In this step, you’ll collect the identification documents needed for your online notary service in Ontario. Your goal is to prepare valid government issued photo identification that meets the verification requirements.
Start by selecting a current government photo ID that clearly shows your full name, photograph, and signature. According to ClickNotary, the identification must be unexpired and legible when scanned. Acceptable documents typically include:
Here’s a comparison of accepted identification documents for online notary services in Ontario:
| Document Type | Accepted for Notary | Contains Photo | Contains Signature |
|---|---|---|---|
| Canadian passport | Yes | Yes | Yes |
| Provincial driver’s license | Yes | Yes | Yes |
| Ontario photo card | Yes | Yes | Yes |
| Permanent resident card | Yes | Yes | Varies |
| Canadian military identification | Yes | Yes | Yes |
- Canadian passport
- Provincial driver’s license
- Ontario photo card
- Permanent resident card
- Canadian military identification
Ensure your chosen ID is in excellent condition with no significant damage or obscured information. Scan both the front and back sides of the document at high resolution. The scan should capture all text and details clearly with no blurriness or cutoff edges.
Pro Tip: Take your scan in good lighting and use a plain white or neutral background to maximize clarity and readability.
Before uploading, double check that the photo matches your current appearance and that all personal details are current and accurate. This helps prevent potential verification delays during your online notary appointment.
Step 2: Prepare Identification for Scanning or Photography
Now that you have your government issued photo ID, you will prepare it for digital submission by creating high quality scans or photographs. This step is critical to ensure your identification can be easily verified during the online notary process.
As recommended by ClickNotary, using specialized scanning apps like Adobe Scan can help you create clear PDF documents of your identification. When scanning or photographing your ID, follow these key guidelines:
- Position your ID on a flat, solid colored background
- Ensure bright and even lighting across the entire document
- Hold your camera or position your scanner directly above the ID
- Capture both front and back sides completely
- Make sure no shadows or glares obscure the text or photo
Pro Tip: Natural daylight near a window provides excellent illumination for scanning or photographing documents without harsh shadows.
EzNotary suggests you will also need to take a selfie that matches your ID photo for additional verification. When taking your selfie, choose a neutral background and ensure your entire face is visible and well lit. This helps the verification service confirm your identity quickly and smoothly.
Your next step will involve uploading these crisp digital images to complete your online notary submission.
Step 3: Access the Secure Online Notary Portal
You are now ready to access the secure online notary platform where your identification and documents will be verified and processed. This step involves creating an account and navigating the digital portal to initiate your notarization request.
As NotaryLink demonstrates, most online notary platforms follow a similar process. Begin by locating the official online notary website and clicking the “Create Account” or “Sign Up” button. You will typically need to provide basic personal information such as your full name, email address, and create a strong password.
The platform will guide you through account creation with straightforward steps. Notarize.ca recommends having your prepared identification documents nearby during this process. You will likely need to:
- Verify your email address
- Complete your personal profile
- Upload your government issued photo ID
- Select the type of notary service you require
Pro Tip: Use a secure password with a mix of uppercase and lowercase letters, numbers, and symbols to protect your account.
Once your account is established, you can book an online appointment and prepare for your video verification session. The secure portal will provide instructions for document upload and next steps in the notarization process.
With your account created and documents prepared, you are now ready to connect with a certified online notary who will complete your verification.
Step 4: Upload Your ID Document and Submit
You are now at the final stage of preparing your identification for online notary verification. This crucial step involves securely uploading your carefully prepared identification documents through the online platform.
ClickNotary suggests that most services provide a secure upload link through email confirmation. When you are ready to submit, locate the upload section in your online account and carefully follow these steps:
- Select the high resolution scans or photos of your ID
- Ensure both front and back sides are uploaded
- Check that all text and images are clearly visible
- Verify the file size meets the platform requirements
As EzNotary recommends, you will also need to complete an additional facial verification process. This typically involves uploading a selfie that matches your government issued photo ID. The verification service will compare your live photo with the ID photo to confirm your identity.
Pro Tip: Use a neutral background for your selfie and ensure good lighting that clearly shows your entire face.
Before final submission, carefully review all uploaded documents. Make certain your personal information is accurate and all images are crisp and readable. Any blurry or incomplete uploads may delay your notarization process.
After successful document upload, you will receive a confirmation and instructions for your upcoming online notary appointment.
Step 5: Verify Successful Upload and Confirmation
With your identification documents uploaded, you will now confirm that everything has been processed correctly. This final verification step ensures your online notary service can proceed smoothly.
EzNotary utilizes a verification process through Stripe that reviews your submitted documents without storing the actual images. You should expect to receive a confirmation indicating your identity has been successfully authenticated.
Check your registered email inbox for verification messages. Look for communications that confirm:
- Successful document upload
- Identity verification completion
- Upcoming appointment details
- Next steps in the notarization process
Pro Tip: Add the sender email to your contacts to prevent important verification emails from going to spam.
Notarize.ca suggests that after your video signing session, you will receive a final notarized document directly in your email. This serves as your ultimate confirmation of successful completion.
If you do not receive a confirmation within 24 hours, contact the online notary service customer support to ensure your documents have been properly processed. Your proactive approach will help prevent any potential delays in your notarization request.
Ready to Upload Your ID for Online Notary Services in Ontario?
You have taken all the right steps to prepare your identification for online notary verification, but the process may still feel stressful or confusing. If you are worried about blurry scans, missed details, or delays in confirming your appointment, you are not alone. Many people want a smoother, faster path to getting their affidavits, statutory declarations, or invitation letters notarized online. That is why our team at The Online Notary is here to guide you through every step. We support clear document uploads, secure selfies for ID verification, and instant appointment confirmations, so you do not have to worry about wasted time or failed submissions.

Take the next step now and try our Ontario online notary services. See for yourself how easy it is to upload your identification and book a certified notary appointment, all from the comfort of your home. For help or to get started now, visit The Online Notary today. Your smoother, stress-free notarization experience is only a click away.
Frequently Asked Questions
What identification documents do I need to upload for online notary services?
To upload for online notary services, you need a valid government-issued photo ID that shows your full name, photograph, and signature. Prepare accepted documents like a Canadian passport, provincial driver’s license, or Ontario photo card, and ensure they are unexpired and clearly legible.
How do I prepare my ID for uploading to an online notary service?
Prepare your ID by creating high-quality scans or photographs. Ensure the ID is on a flat surface with even lighting, capturing both the front and back, and free from shadows or glare that could obscure details.
What should I do if my selfie doesn’t match the ID photo during verification?
If your selfie doesn’t match your ID, retake the photo ensuring good lighting and a neutral background where your entire face is visible. This helps the verification service confirm your identity accurately.
How can I ensure my documents upload correctly to the online notary portal?
To ensure correct uploads, double-check that all images are high resolution and clearly show your ID without any blurriness. Review each document thoroughly before submission to minimize the chance of delays due to incomplete or unclear uploads.
What confirmation should I expect after uploading my ID for online notary services?
After uploading your ID, you should receive a confirmation email indicating successful document upload and identity verification. Verify this within 24 hours, and if you don’t receive it, reach out to customer support to confirm processing.
What steps do I follow if I need to edit or replace my uploaded ID?
If you need to edit or replace your uploaded ID, log back into the online notary portal and locate the document upload section. Follow the prompts to re-upload the corrected document, ensuring it meets all quality requirements for a smooth verification process.
Recommended
- Notary Identification Requirements in Ontario for 2025 – The Online Notary
- How to Become a Notary Online in Ontario, Canada – The Online Notary
- Online Notary Public in Ontario: Services and Benefits 2025 – The Online Notary
- How to Become a Notary Online in Ontario, Canada – The Online Notary
- Witnessing Legal Documents: Complete U.S. Guide – YM Doc Services